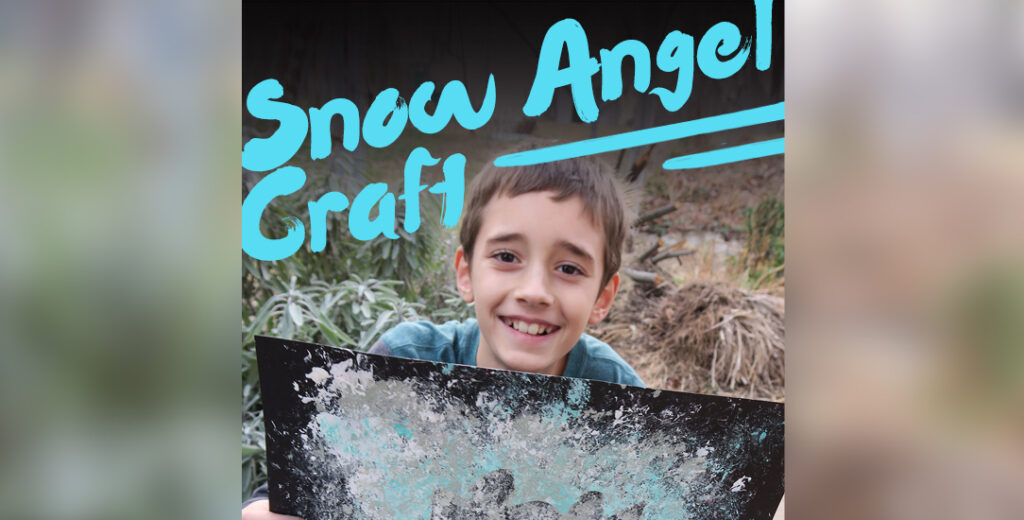
Omaha hasn’t had much snow yet. Hopefully we will soon, so kids can enjoy all the fun snow-related activities like sledding, building snow forts and creating real snow angels.

If your child is like mine, and can’t wait for more snow there is a fun activity they can do inside to make a snow angel.
Craft List:
- Black Paper
- 2 or 3 Light Colors of Acrylic Paint
- White Acrylic Paint
- A Plastic Bag That You Would Get Grocery Shopping
- Cheap Shelf Paper, or a Sticky Vinyl
- Newspaper or a Tarp to Protect Your Work Table
- A Pencil
- A Scissors
Optional Craft List:
- A Blow Dryer
- Masking or Painter’s Tape
- An Angel Cookie Cutter
All I needed to buy was the inexpensive shelf paper.
Step 1:
Lay down newspaper, or a tarp on your table. Anything that will protect your table will do.
Step 2:
Lay your black paper down. If you don’t want the paper to slide around, you can tape the black paper to the table protector.
Step 3:
Tear or cut a plastic grocery bag in 1/2, and set it aside.
Step 4:
Use an old cereal box, or painter’s pallet to put white acrylic paint on. You can mix some water into the paint.
This is where the fun begins. Use the plastic bag like a sponge. Wrinkle it up, dip it in the paint, and put it on your black paper.
Let it dry! Optional: We used a blow dryer to speed up the drying process. You’ll want it to be DRY before moving on.
Add another light color with the same process. My son used a green grey color, and white.

Close-Up:

Let it dry!
Step 5:
Get out the shelf paper. You can use the roll for a lot of art projects! If you have vinyl with a sticky side around, that will work as well.

Step 6:
Unroll the shelf paper just enough to draw a few angels. You can use an angel cookie cutter to trace around if you prefer. My son wanted to draw them. If you have a young child they will need help with this step.


Step 7:
Cut the angels out.
Step 8:
Remove the backing, so the shelf paper or vinyl is now sticky.
Step 9:
Lay them on the black paper. Make sure the acrylic is dry before you stick it down.

Step 10:
Start using the other 1/2 of the grocery bag to add on white.
During this time your child’s angel will disappear for the most part. Don’t panic. You’ll see it again.


Step 11:
Dry well.
Step 12:
Add another light color using the same technique. My son decided he wanted to add light blue.

Step 13:
Tear the shelf paper, or vinyl up to reveal the snow angels.


You can toss the shelf paper, or vinyl or if your child is like mine they will want to keep them.

Here’s the end result:

What We Liked About This Craft:
- It’s great for any child in elementary school. Younger elementary and preschool aged kids will need more help with drawing the angels, and cutting them out. Who am I kidding? I even enjoyed this craft! It’s good for ages 3 to 99.
- It didn’t break the bank! I really only needed to buy the shelf paper, which was around $4. I can use it for other projects. The rest of the things I had at home already.
What We Didn’t Like About This Craft:
- Trying to find cheap shelf paper wasn’t easy.
- If you don’t like to make a mess, you may not enjoy this craft
