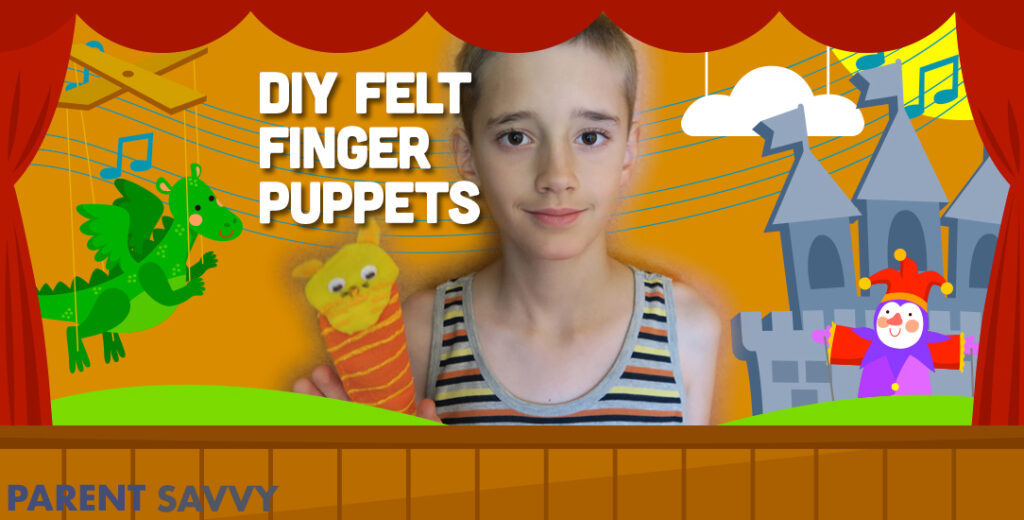
This is a fun craft! My son’s been into making DIY felt finger puppets.

He made an elephant and a giraffe for test finger puppets. This one is a tiger. I’m wondering if he was influenced by Daniel the Tiger since we just watched Won’t You Be My Neighbor?
My 10 year old came up with this craft all by himself! This craft is best suitable for upper elementary and middle school kids.
What’s Needed:
- A couple colors of felt.
We used yellow and orange. They seemed like good tiger colors. Use colors of felt based on what kind of animal you want to construct.
- A ruler is optional.
My son wanted to use it. I’m all about him figuring out how to use a ruler.
- A couple spools of thread.
We used yellow and black. My son did make two puppets prior to this with staples instead.
- Medium to small googly eyes.

- White school glue.

- Fabric paint or a few Sharpies.
He only ended up using the yellow fabric paint, and a black Sharpie.
- Fabric scissors to cut the felt.
If you are worried your child may cut themselves, an adult may need to help them with these sharp scissors.
Let’s Get Started!
Working on the Body
Fold the felt over so two inches of felt is being used. Only one inch will show.

Start drawing a line down the felt with a Sharpie. My son used a ruler for this part. You really can eye ball it. You just want to make sure a couple fingers can fit in because it is a finger puppet after all.

Cut the line.


Fold the remaining felt in half and sew it. In this case I did the sewing. It might be a good idea to have your son or daughter start to learn how to sew. My son knows how, but has trouble with the knots.

Sew one side to close up the top. Leave the bottom open for your fingers. This is going to be the tiger’s body.

Working on the Head
Draw a circle with a Sharpie to make a head shape.

Go ahead and cut it out. It’s ok if some edge shows. My son says if the edge shows it’s more cartoony, or you can put the line side towards the back of the puppet.

He chose to glue the head on with school glue. You can glue it on with hot glue, or sew it on.

It’s time to glue those googly eyes on.

Time to add the fabric paint. If you want you could use Sharpies, or other markers.

Cut and add the ears. I sewed them on for him. It got kind of messy with the glue from the tiger’s head.

Working on the Feet
He cut thin strips of felt, rolled them a bit, and I sewed them. You could just have two, but he wanted his tiger to have four.

Cut and sew a strip of felt on the backside of the puppet. It looks a little like a cape, but it will make sense here in a second.

Sew or glue two legs in the front, and two legs to what I was calling a cape. It’s actually tigers hind legs.

Finishing Up
He add stripes for tiger’s body. Then used fabric paint to add darker spots on his ears.

I sewed on some small black whiskers.

Tiger turned out to be pretty cute!

What animal would you add to his collection?
What I Liked About This Craft:
- It was easy
- It was fully my son’s creation
- I didn’t have to buy very much for it
- It made him problem solve
- It’s cute
